Shopify have recently updated the way in which you integrate your facebook pixel onto your shopify site. This guide will take you through each of the steps needed to get setup:
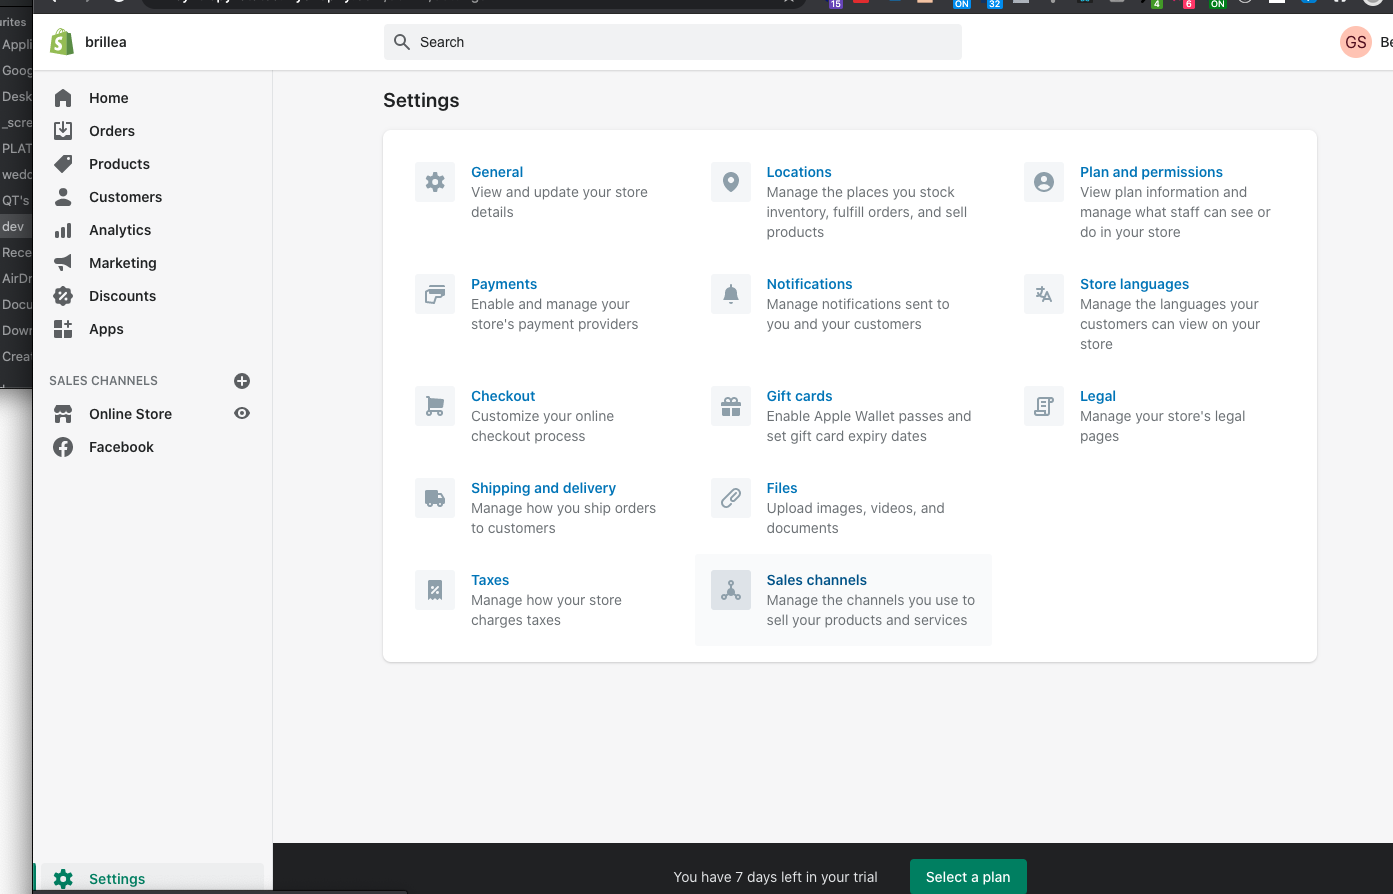
Login to your Shopify Account, click Settings in the bottom left hand side of the screen. Then once in settings, click Sales channels.
Now click Add sales channel and scroll through the list untill you find facebook and select the plus.
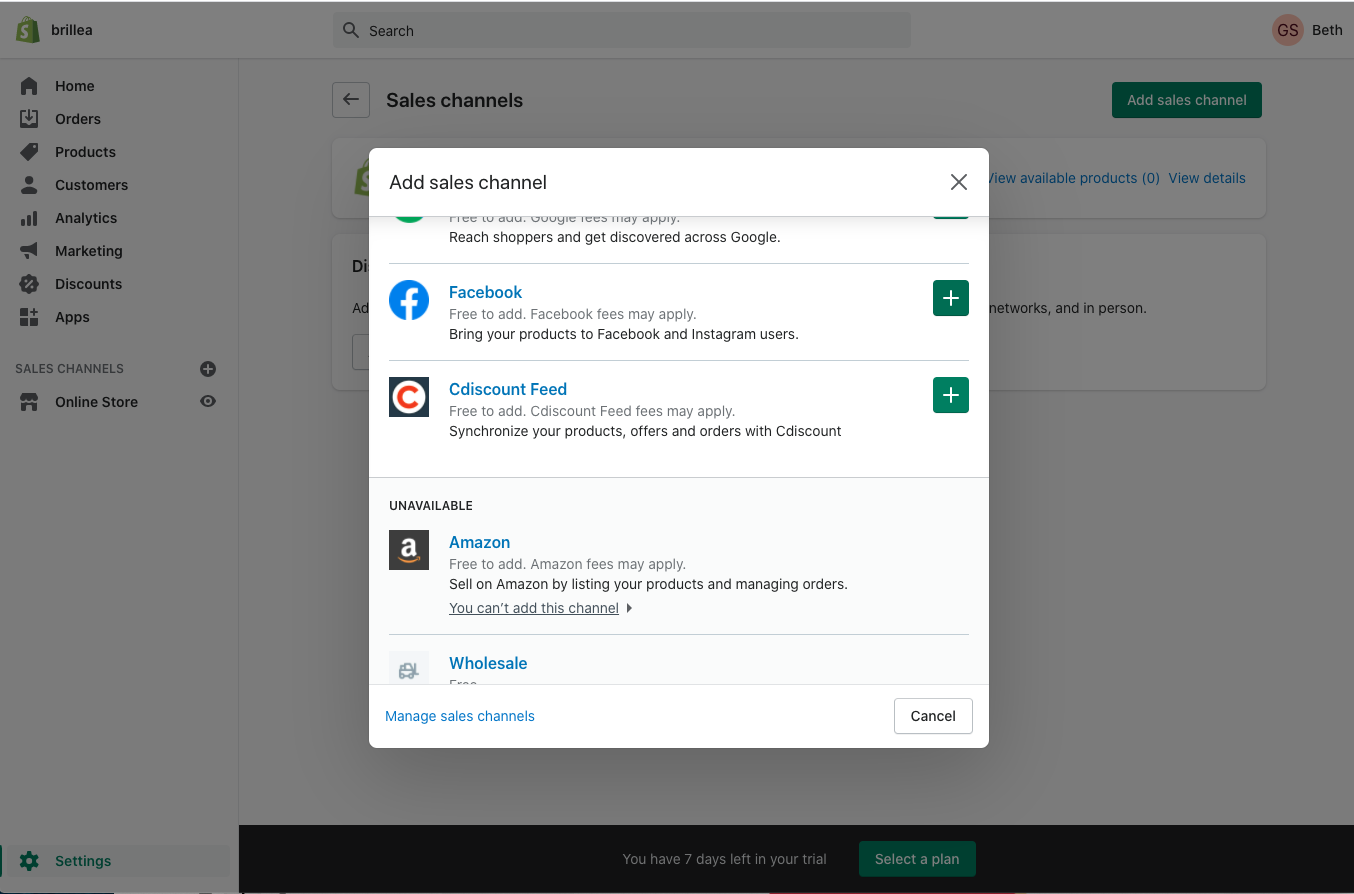
This will then show you a list of the access shopify requires from facebook, scroll through the list and click Add sales channel.
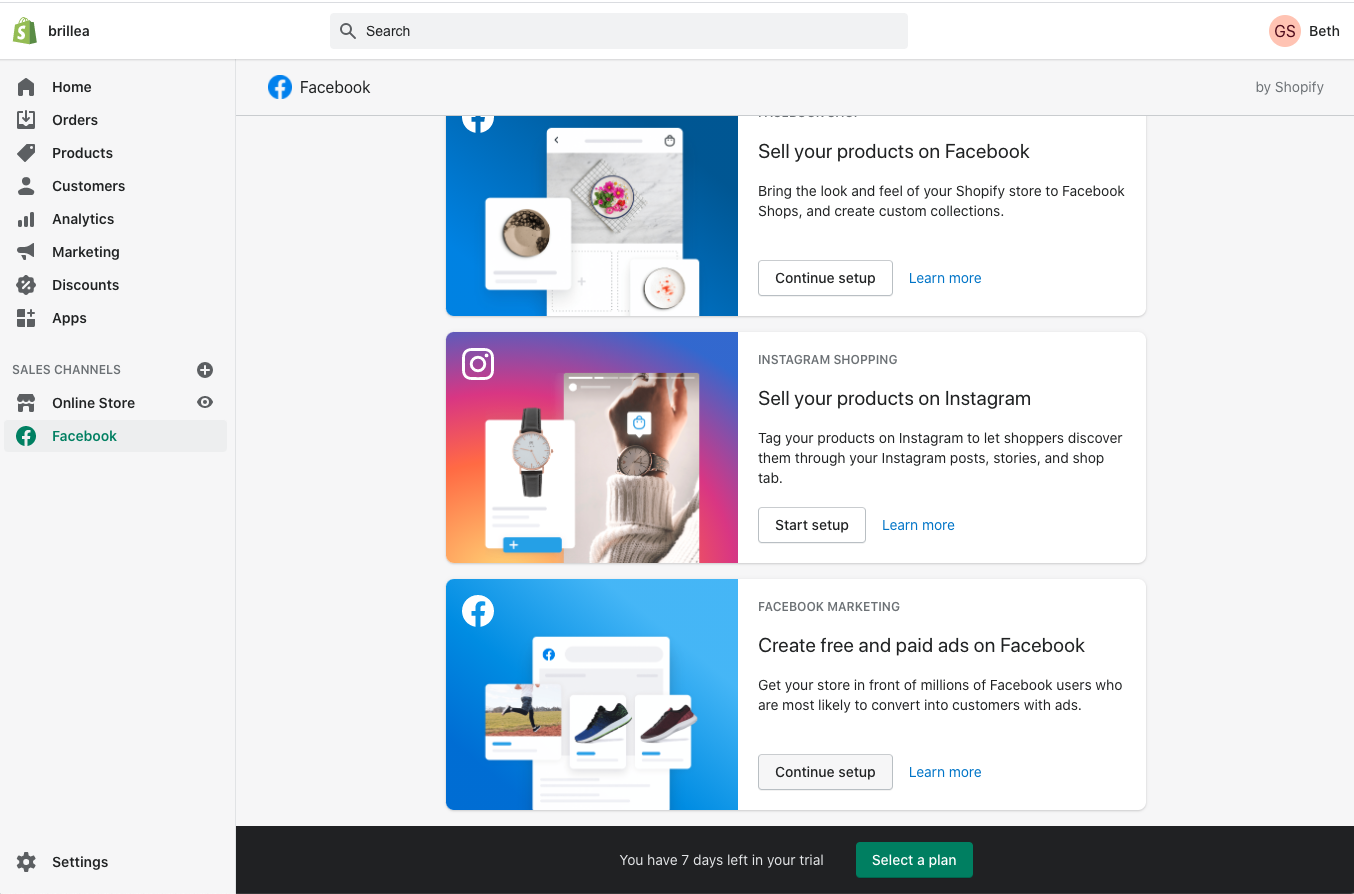
Scroll down the page and click the Get started button for the Create free and paid ads on Facebook connecting this will allow you to monitor the performance of the ads we create.
Now Shopify will take you through various steps to connect to your facebook account. Follow each step, your facaebook account will have to be setup with payment details in order to complete this.
On the Data Sharing section, select Maximum as with facebook's new aggregated events we need the pixel's full tracking setup
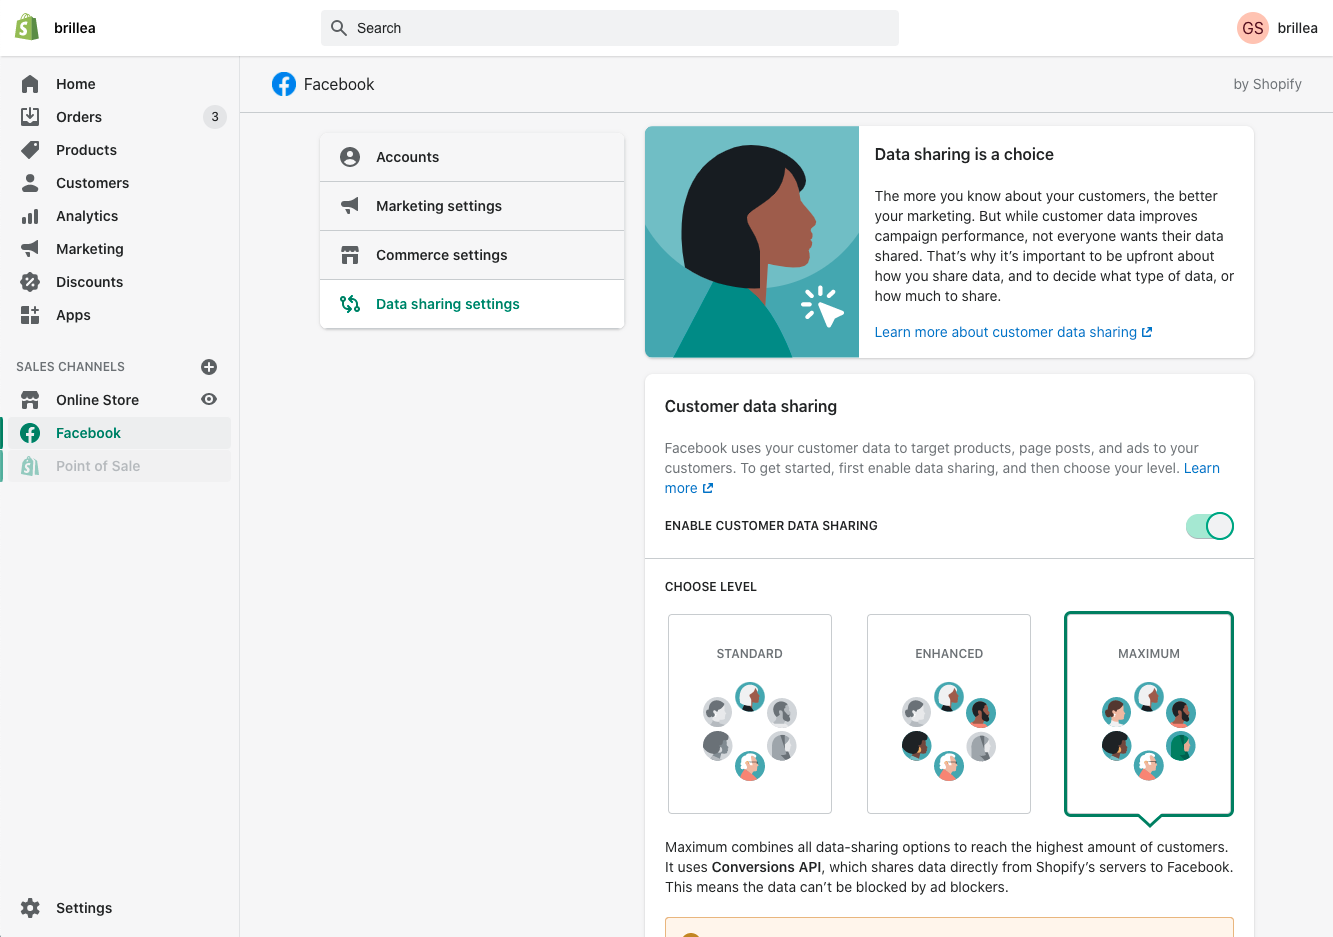
Once complete Accept the terms and conditions and your facebook pixel should be all setup and reaedy to go.


Should you need any further assistance get in contact with your brillea.
If you are still having issues and your Facebook tracking is not working, please check your Customer Privacy settings. more info