A Facebook Pixel is an analytics tool that allows you to monitor and understand the actions people take on your website, with this you can measure the effectiveness of your advertising.
If you are CMS/eCommerce platform such as Shopify or WooCommerce etc. Many of these have automated plugins to install the facebook pixel and all purchase/conversion events required to track an online store.
View our brillea guide on how to setup the Facebook Pixel on Shopify
To set up your Pixel manually, follow these steps:
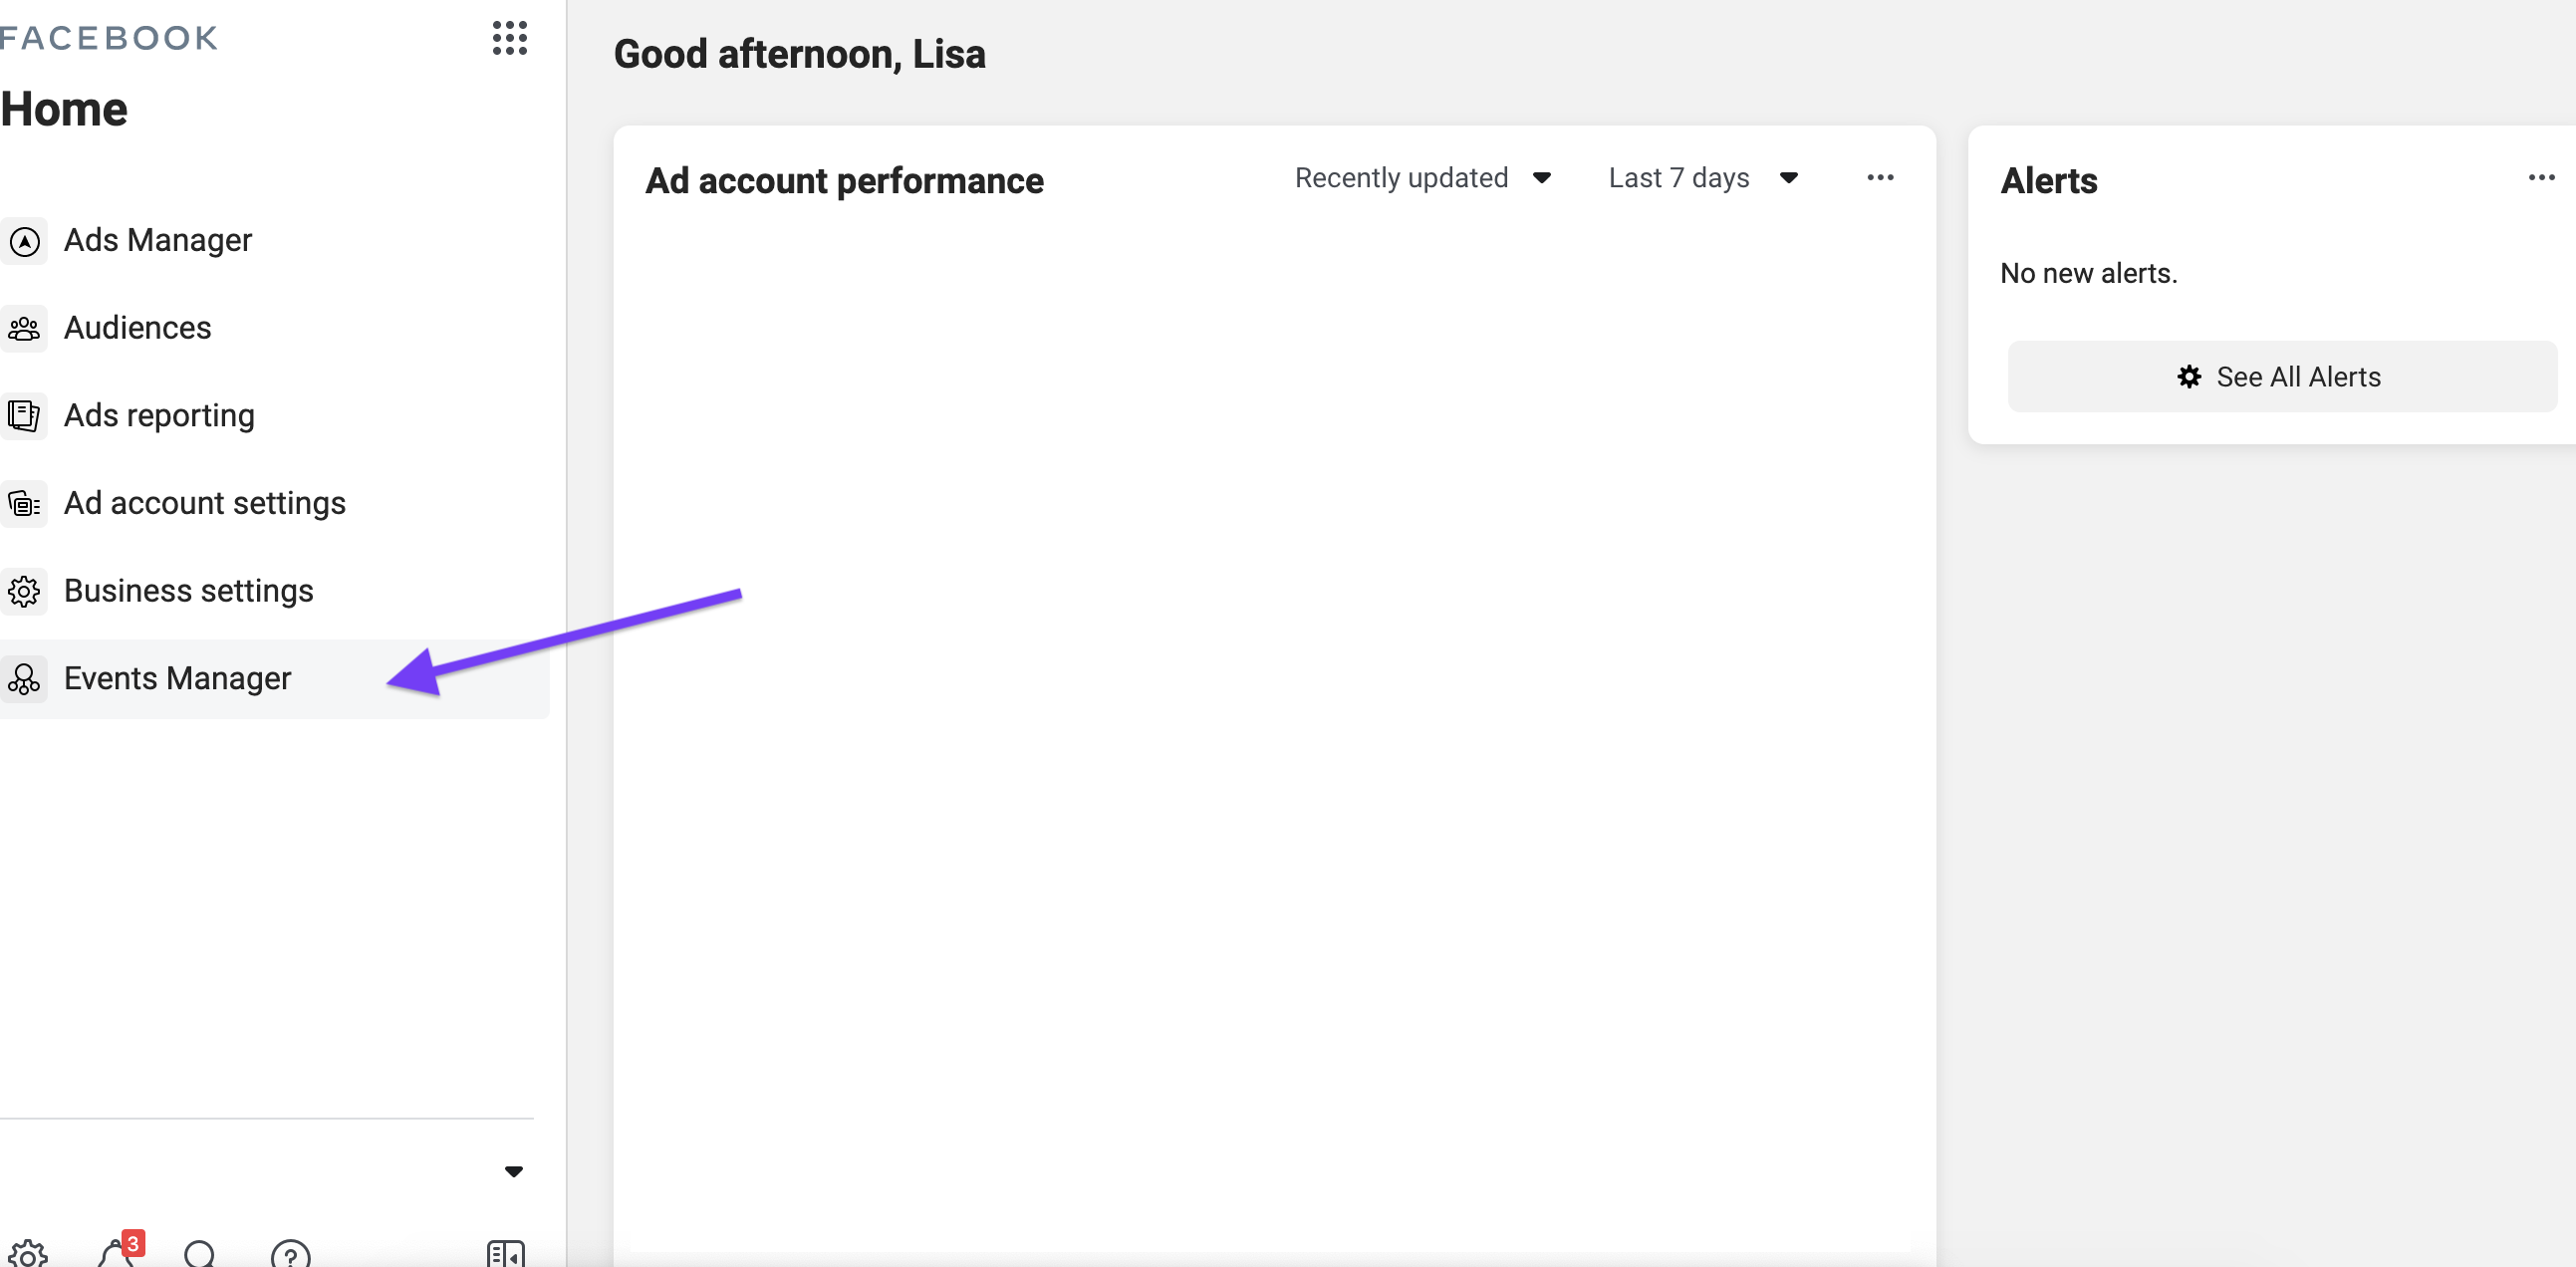
Log into your Facebook Business Manager, and select Events Manager from the left hand menu
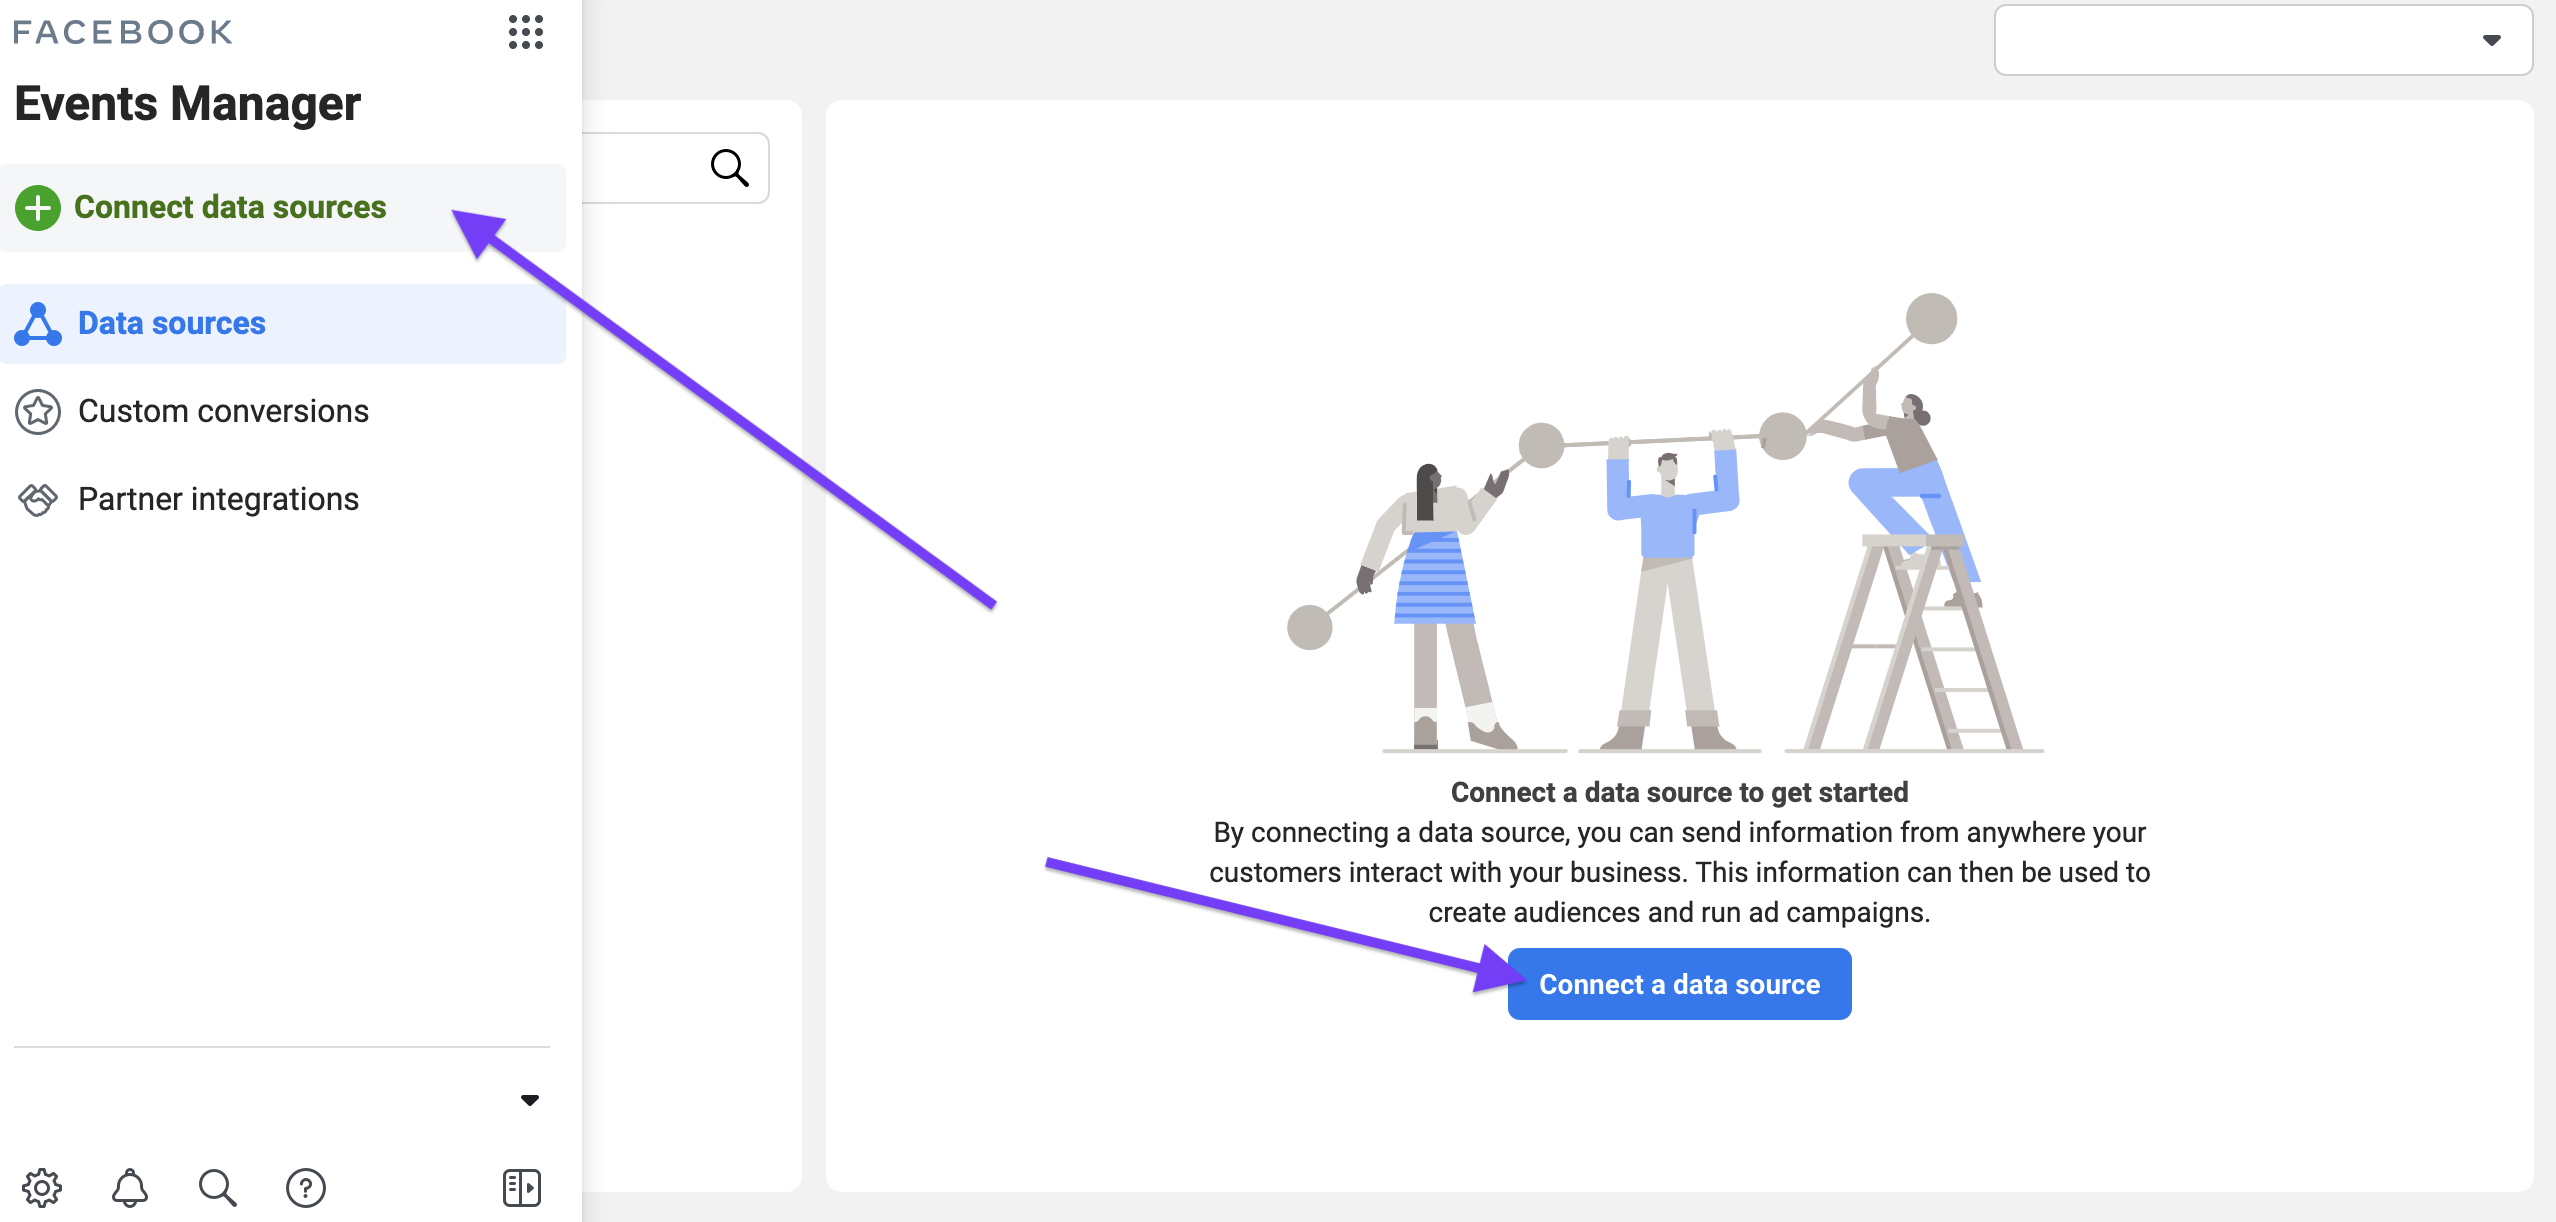
Select Connect Data Sources from the left hand menu or the centre of the page
Select Web or App as relevant
Click Get Started
Select Facebook Pixel


![]()
- Name your pixel (make sure this includes your business name) and enter your website and click Continue.
These next steps will vary depending on your website.
Option 1: Partner platform Facebook has already partnered with some of the most popular platforms and website services. When you select your platform, you automatically launch their unique setup process.
Brillea tip: We suggest using Google Tag Manager to manage your tracking codes and pixels - Google Tag Manager is a partner platform for Facebook so this makes it easy to install.
Option 2: Manually From the Install pixel menu, select Manually install pixel code yourself and follow steps here.
Option 3: Email instructions to a developer There will also be the option to send instructions to a developer.